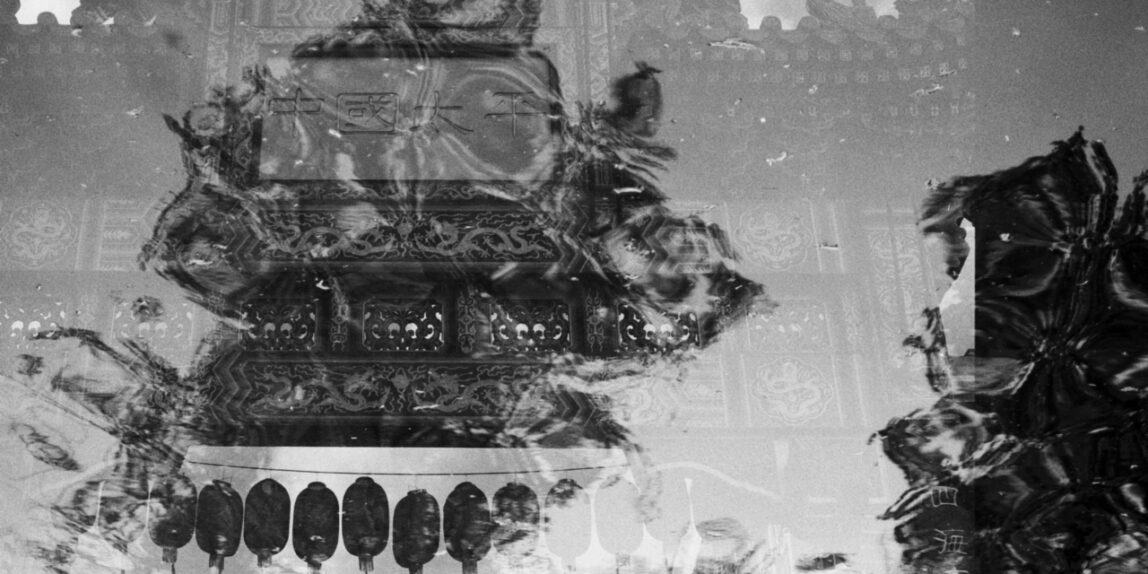
The Japanese word 上書き uwagaki means «overwrite» and has become the title of an ongoing double exposure project my brother, my cousin and my humble self devised during a period of dense travel itineraries in spring 2024.
It initially foresaw each of us to shoot two films while travelling through Asia, South America and Europe, bearing in mind that every esposure will be overlayed by another exposure in a completely different place, time and mood. For the two images to augment and support each other, a film is twice exposed in two different aesthetics: The Blue Mode focuses on clear protagonists, scenic moments and literal narratives whereas the Red Mode captures textures, motion blur and abstract ambience. All of us would thus populate a blue film and a red film before handing over both of these to the other two people involved and receiving two exposed films which in turn will be overexposed by the opposite mode.
The correct alignment
Aligning a previously exposed film again in your camera can be a tricky task. You will want to make sure that the exposures do not overlap but line up neatly with the existing ones. Since all magic happens in the dark we have to devise a methodolgy that ensures the correct alignment working only with the visible film strip. First of all you will need a reliable permanent marker that will dry quickly on the film emulsion. The easiest method is to line up the film in the camera, tighten it by reversing the canister spool until it can no longer move, then paint a vertical line across the film strip at the edge of the canister where the film appears. Ideally, you will want to add a number of empty exposures that will follow, this will later help in knowing how many frames to advance before the first exposure is ready to be overexposed. Since the camera does not necessarily advance the film evenly at the beginning when manually reversing or shifting the film forward to align it correctly with an existing marking it is advised to add an extra empty frame at the beginning. While you technically lose one frame the likelihood of correct alignment doubles with every empty exposure you add. When adding an extra exposure at the beginning, you can manually advance the film once after you marked it. Every exposure on a 35mm-film is exactly eight sprockets wide, including their adjacent eight gaps. Once you’ve advanced the film once you can verify that the transport mechanism was correct by cointing the number of sprockets and draw another line accompanied by the number of empty frames left before the exposurse begin (one less than the initial number of empty frames). Now you may close the camera and advance by as many frames and you are ready to fire the first shot.
Inserting a previously exposed film
If you wish to overexpose a single frame or an entire film, you can insert the film normally and advance until the vertical line appears. Depending on the camera model in use there may or may not be easy ways to freely shift the film in whichever direction. I am working with the Minolta X700. With this model you can advance normally, or — if you need to reverse the film slightly to line up the vertical line with the canister —, you can hold the spool release toggle at the bottom of the unit while manually reversing the film to the desired location. Then you need to advance the film once and verify that eight sprockets have appeared. Should this fail, the process needs to be repeated, until it succeeds and the second line appears at the canister edge. Since the number of remaining empty exposures should too be noted next to the vertical line, the camera can now be closed and as many empty exposures can be shot before frame #1 is ready to be overexposed.

